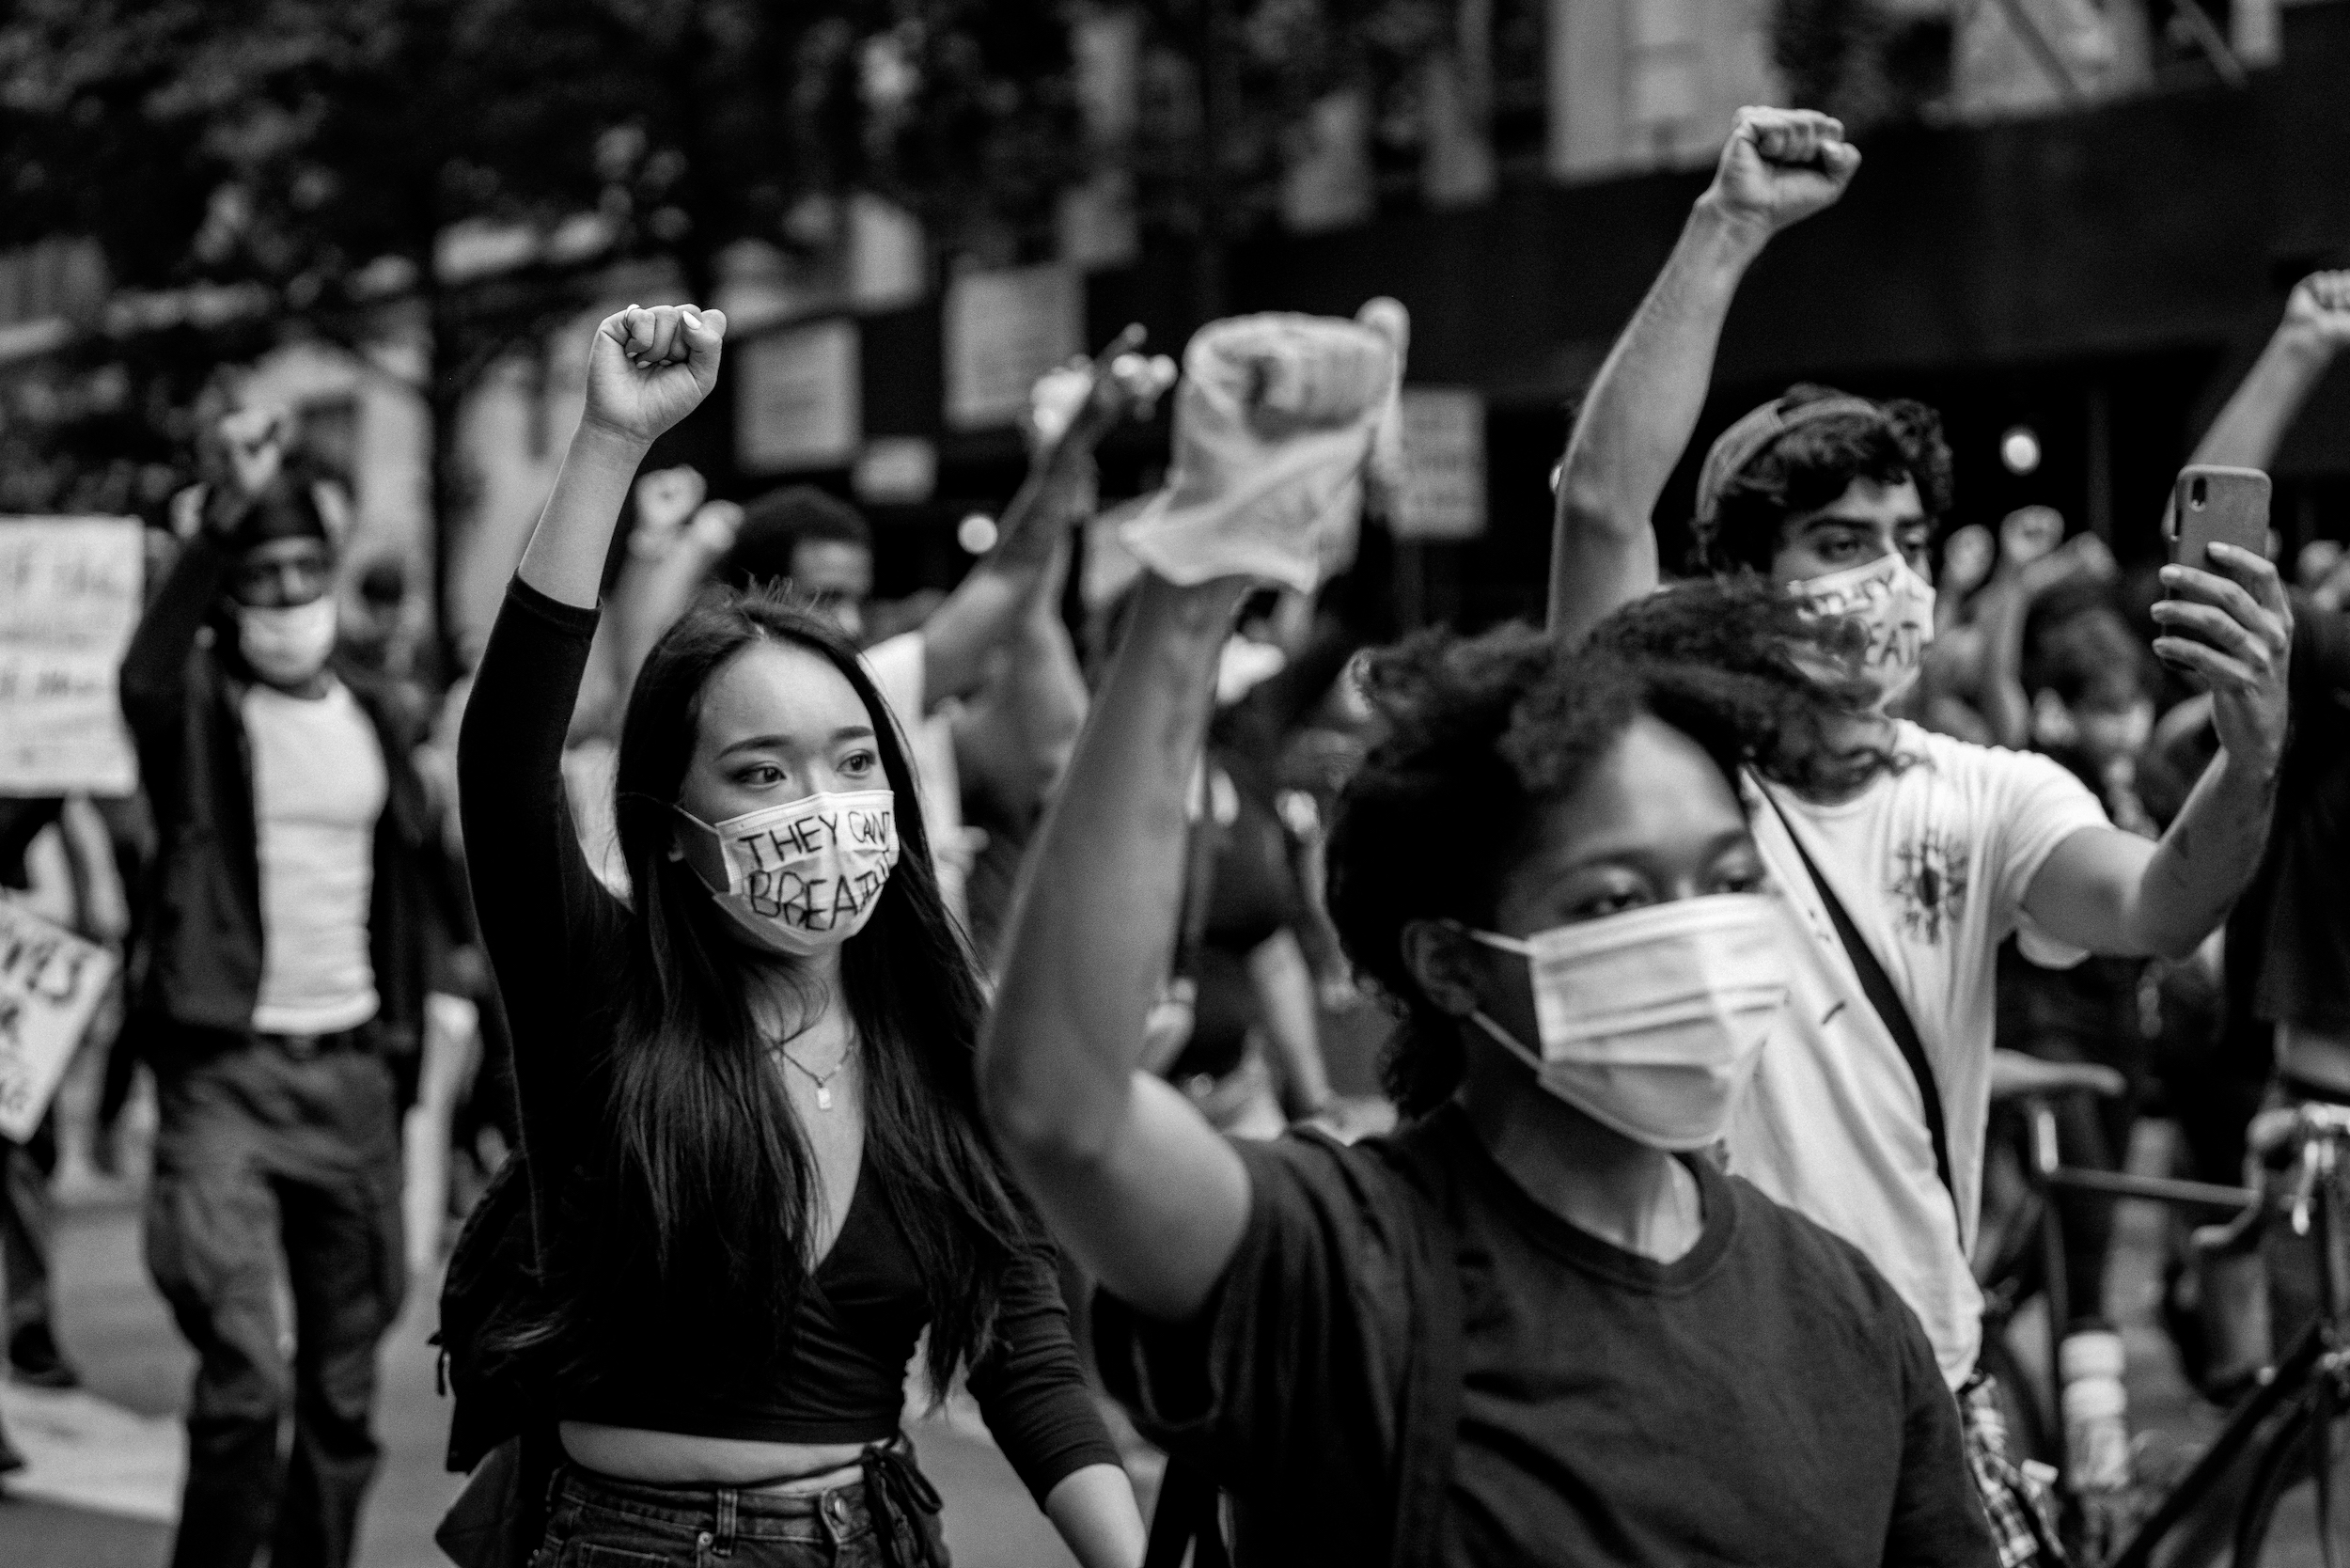
Tips & Tricks
How to Make Local Adjustments Fast With Color Masking in Lightroom
Tuts+PhotographyAdobe Lightroom includes powerful features to adjust and edit your images, including local adjustments that refine areas of an image so that you have precise area control.
To save time while selecting those areas, in this tutorial you'll learn how to use color masking: this feature selects areas of an image based on color for faster masking and more precise adjustments.
Local Adjustments in Adobe Lightroom
Have you ever needed to make a local adjustment while editing an image? Maybe you needed to remove a stray hair or blemish. Or, maybe you wanted to desaturate a certain part of an image so that other colors stood out.
These are local adjustments, image edits that only impact an area of an image. Local adjustments are useful for image corrections, of course, but they can also be a powerful tool to make creative and stylistic changes by selectively emphasizing or de-emphasizing specific parts of an image.
Precise Changes in Lightroom
In short, a color mask selects parts of an image based on a color range. It's the perfect option when you want to adjust the clarity of a sky, or the contrast of a green grassy landscape, for example.
Lightroom doesn't work with images at the pixel level like old-school raster image editors, (Adobe Photoshop, for example). Instead, you're applying adjustments to an area of an image, even if that area is very small. That doesn't mean that the tools lack power or flexibility; with the help of features like the adjustment brush and gradient filter, it's easy to adjust part of an image. But because Lightroom doesn't use pixel-level adjustments, precision can sometimes be a bit challenging. That's why masking is so powerful. It allows you to carefully select parts of an image.
These tutorials will teach you more about the magic of general masking. Read on to get deeper into color masking, or head to the next section for a step-by-step how-to.
 PhotographyHow to Dodge and Burn with the Range Tool (Luminance Masking) in LightroomAndrew Childress
 Post-ProcessingMastering the Lightroom Adjustment BrushAndrew Childress
- Post-ProcessingAdobe Photoshop Lightroom Features: The Radial FilterMartin Perhiniak
How to Use Color Masking For Local Adjustments in Adobe Lightroom
Instead of spending time painting the adjustment brush with painstaking precision, this option makes it easy to make a selection based on color. Let's learn how.
1. Visualize Your Edit
Before you start working with tools in Adobe Lightroom, it's important to pause and think about your desired edit. Otherwise, you might spin your wheels and waste too much time making tweaks.
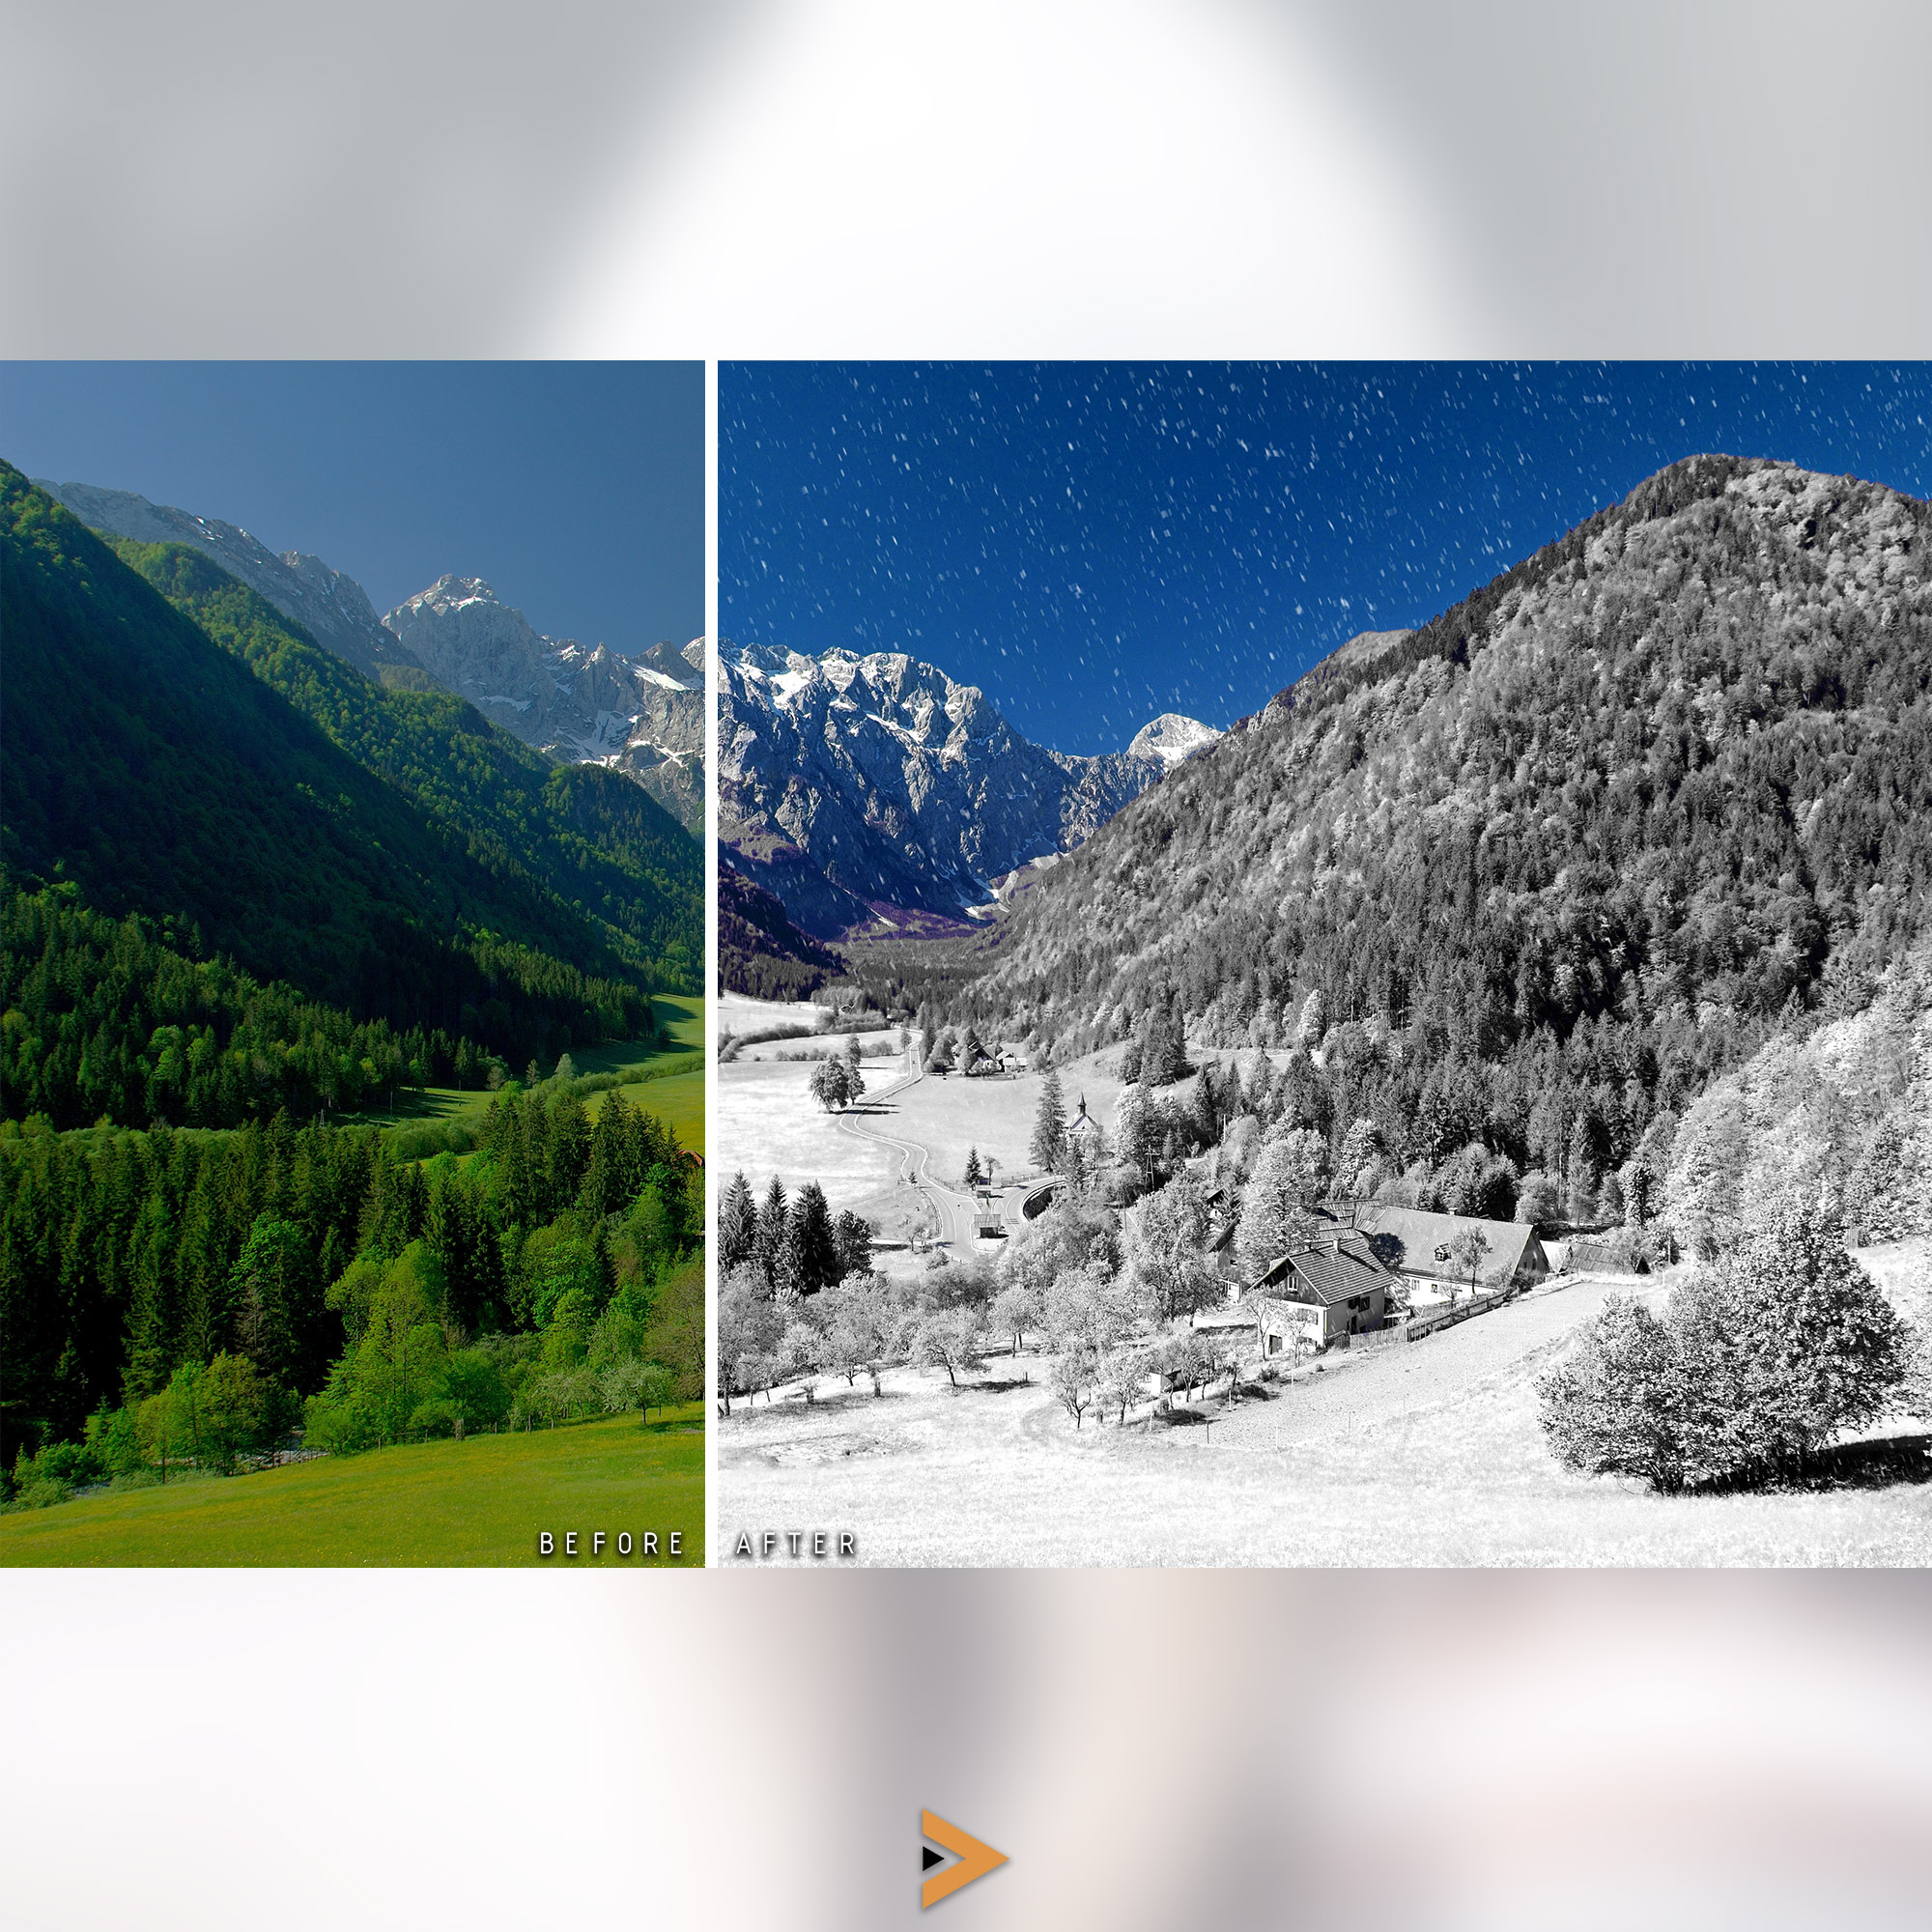
In my image example, here's what I want to do. I want to draw more focus on the planter boxes in the image in the foreground. To do that, I'll remove focus (saturation and detail) from the gravel between the boxes.

This image is an ideal technique for color masking. Each of the boxes that I want to adjust has a green hue that color masking easily selects.
2. Paint a Basic Mask
Color masking works with several of the masking tools—adjustment brush, radial filter, and gradient filter. In this section, we'll work with the adjustment brush tool and refine it with a color mask.
In the Develop module, start by selecting the adjustment brush tool. It's the far-right icon below the histogram, shaped like a paintbrush. Use the Size and Feather options to set the size and shape of the brush.
Press O on your keyboard or check Show Selected Mask Overlay. Then, start to brush over the areas to adjust.

Remember: you don't have to select the area perfectly. The entire point of color masking is to expedite the selection process.
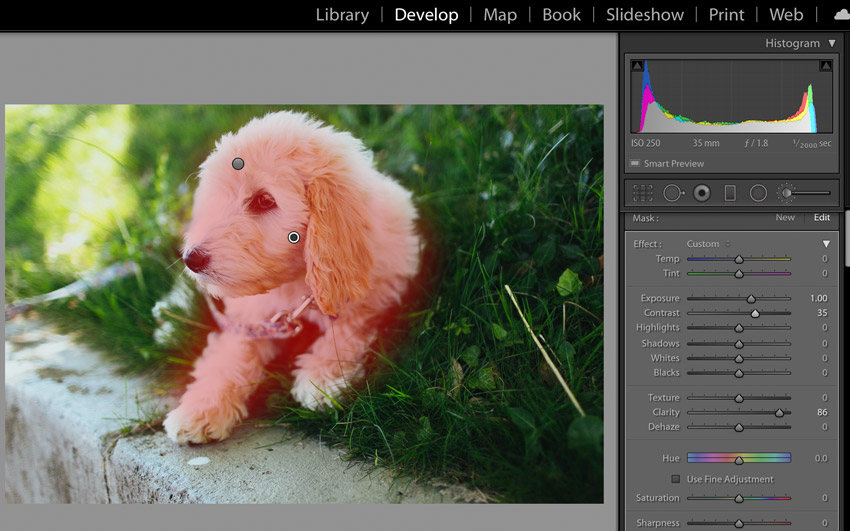
3. Apply the Color Range Mask
Now, we're ready to add the color mask with the same area still showing as selected, click on the Range Mask dropdown on the right side. Choose Color from the dropdown.
Click on the eyedropper icon left of Range Mask. Now, click on the areas of the photo that you want to adjust. In this case, I'll click on the gravel area. You'll see the area refined to the color-similar parts of the image.

You can also hold Shift on your keyboard and click on other areas to add them to your selection. The idea here is to only select areas with common colors so that they'll adjust independently. The red area that shows your mask will adjust as you do so.
Finally, you can tweak your selection with the help of the Amount slider. As you pull it up and down, watch the red areas refine. In my example image, the green areas are de-selected because we haven't included them using the Range Mask.
Our mask is set nicely now. In the image example above, it took me less than thirty seconds to brush a mask and then refine it. That's far faster than attempting to paint it on my own.
4. Dial-In Your Adjustments
The hard work is finished. With the help of the color mask feature, you've selected a specific part of an image. Now, it's time to have fun with the adjustments.
Once you're comfortable with the area you've selected, turn the mask preview off by pressing O on your keyboard. Then, use the sliders on the Adjustment Brush panel to make your adjustments. In my case, I pulled the saturation and texture down to de-emphasize the gravel areas.

And that's it. Remember: you can apply adjustments—not just adjustments that affect color—with the help of this range mask. The color masking only serves to help you select areas of an image based upon color.
The Best Source for Creative Adobe Lightroom Presets and LUTs
If you're reading this article, you're looking to get the most from your digital images in the editing process. But it takes time to develop your own style, and even more time to apply those styles to image after image.
Thanks to Adobe Lightroom presets, it only takes one click to apply a new style to an image. And while the web is full of free options, it's better to source the professional Adobe Lightroom presets from Envato Elements.

With the help of Elements, you won't waste time sifting through results to find a workable Lightroom preset. Instead, the all-you-can-download subscription includes curated Lightroom presets that have been reviewed for quality and ease-of-use.
Here are a few favorite Lightroom presets that are sure to supercharge your edit workflow. They're all included as part of Elements' flat-rate subscription:
- 20 Faded Duotone Lightroom presets—for vintage, two-tone effects that work perfectly for vintage.
-
Film Look—25 Premium Lightroom Presets—for faded, filmic effects that harken back to the days of analog.
-
Monocrom B/W Lightroom Presets - perfect for black and white effects in many different styles.
Elements is the one-subscription source for all kinds of creative assets, including Adobe Lightroom presets. The simple, "all-you-can-download" model gives you everything you need.
More Top Tutorials to Master Adobe Lightroo
 PhotographyHow to Fade Your Adobe Lightroom Presets (for Precise Control)Andrew Childress
 PhotographyHow to Use Profiles in Adobe LightroomAndrew Childress
 PhotographyEverything You Need to Know About Adobe Lightroom CCAndrew Childress
 Photography100 Free Lightroom Presets (And How to Make Your Own)Andrew Childress